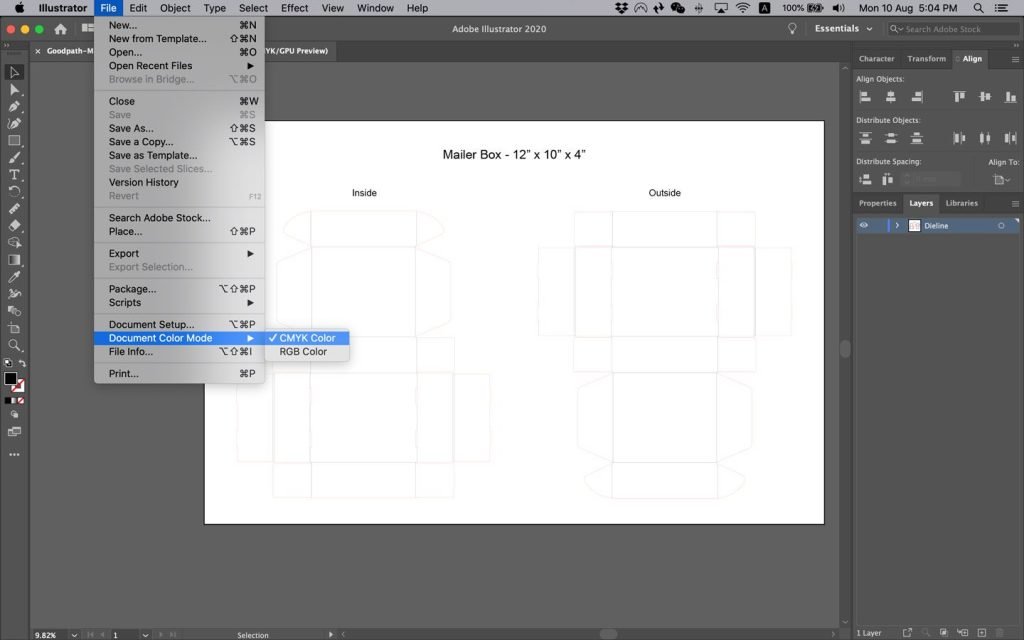
Designing on a dieline template allows you to be as creative as you’d like with your packaging design. Please follow these guidelines to ensure your packaging designs are ideal for production.
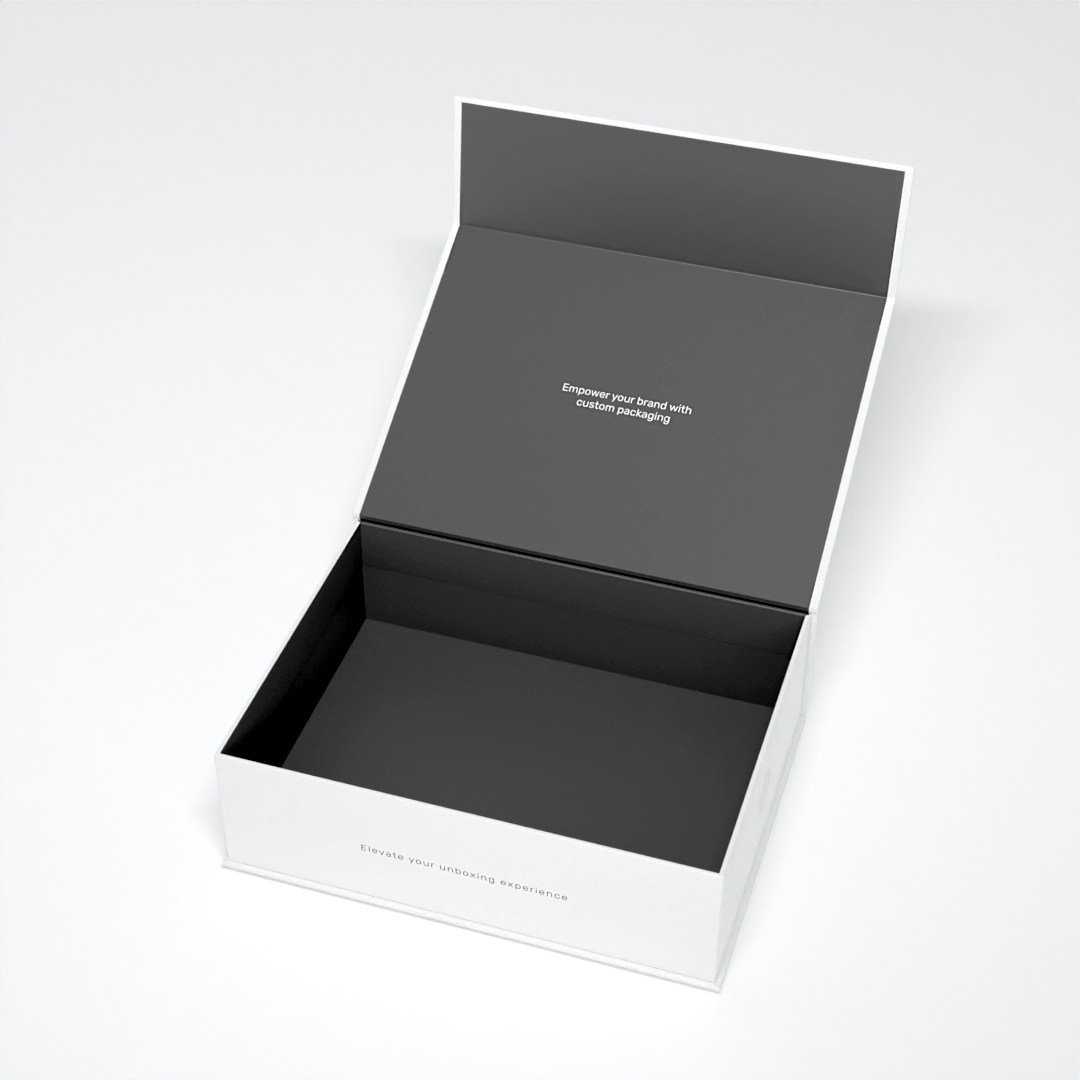
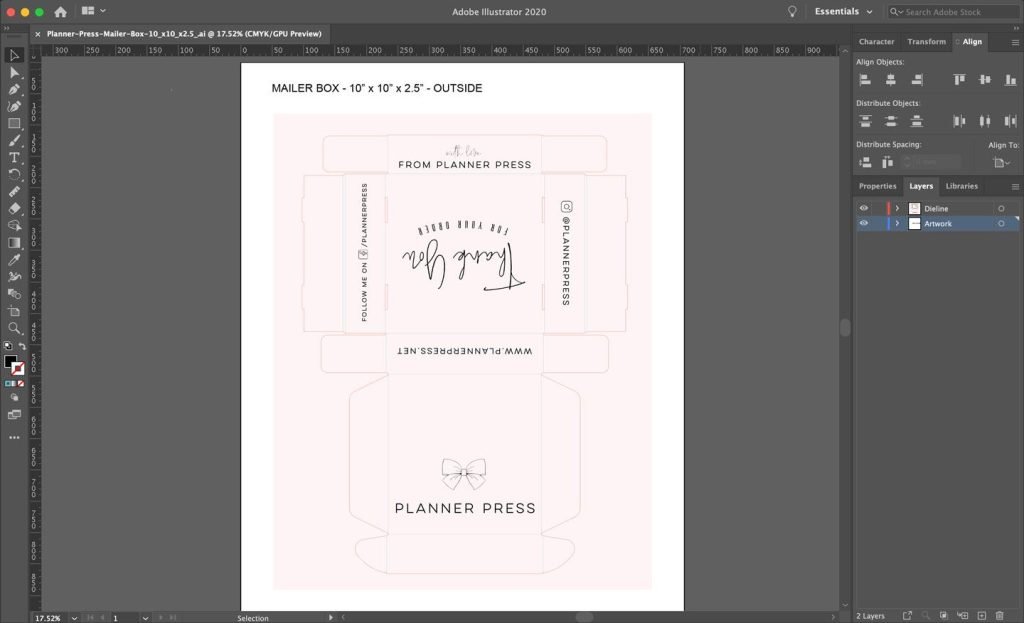
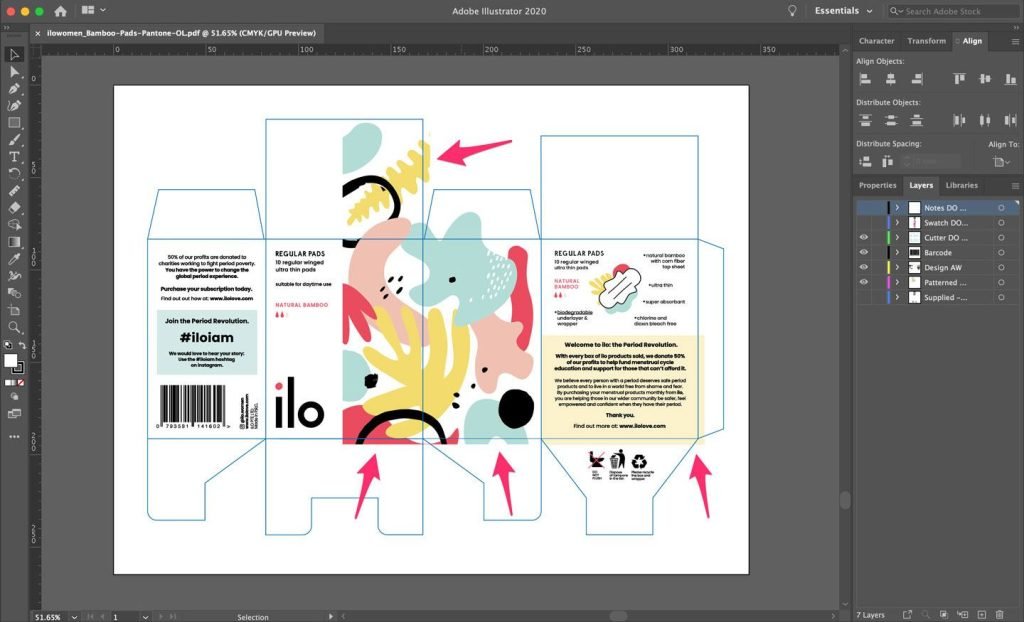
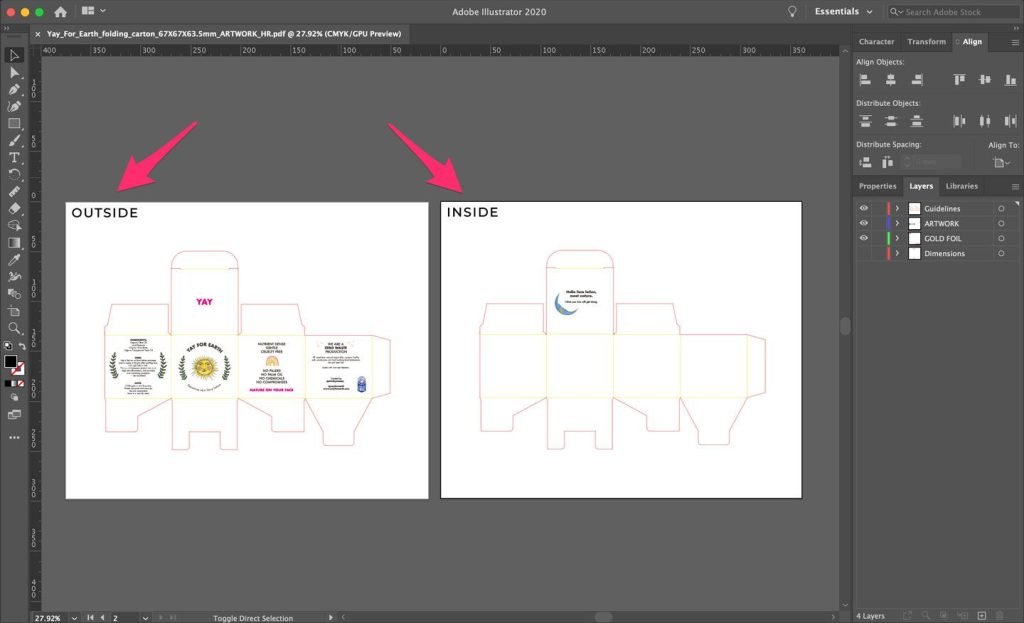
Ensure your images and text face the correct way when your packaging is produced. Follow the orientation guides below, and feel free to test it by printing out your design at home, then folding it together!
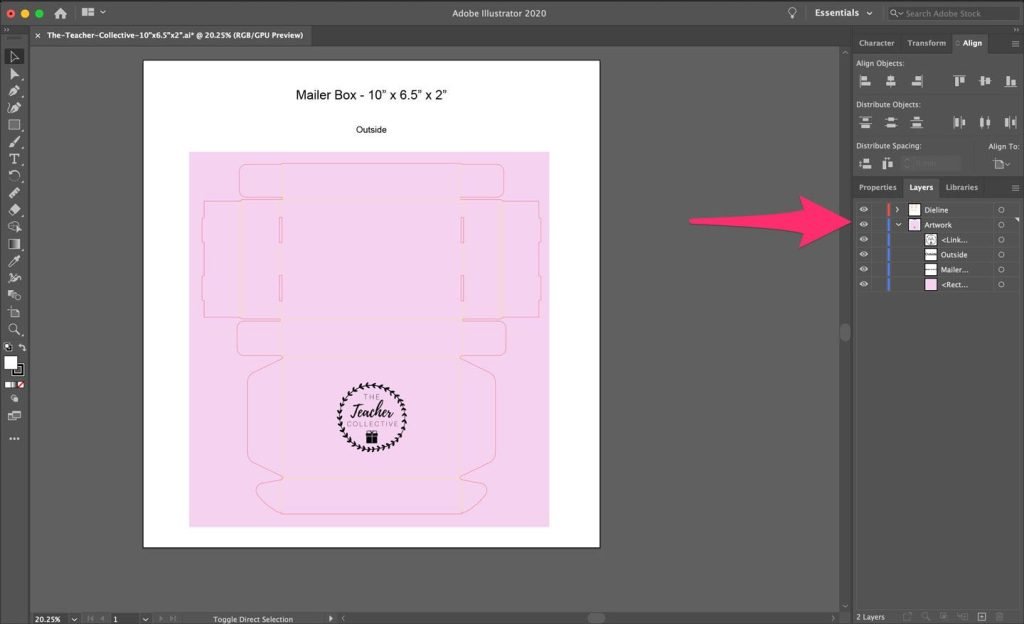
Your artwork should be on a separate layer than the dieline template layer. Simply place all artwork/designs on the ‘Artwork’ layer, leaving the ‘Dieline’ layer as is. Do not delete the dieline template layer as this is needed for production (these lines won’t be printed).
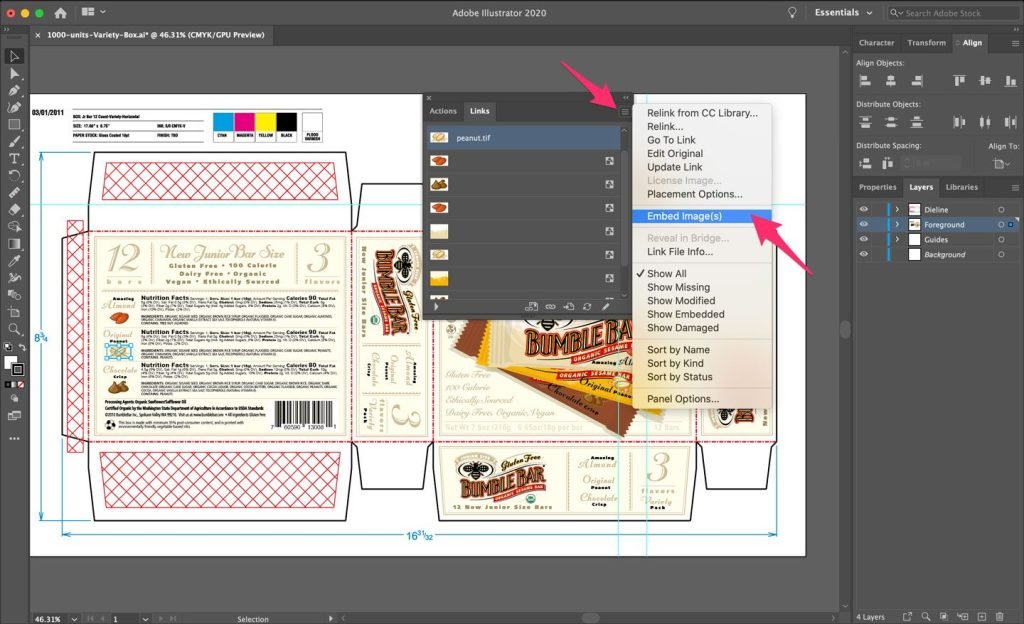
To ensure we have all your image files for production, please embed all images in the document. In Adobe Illustrator:
Click on ‘Window’ in the menu bar and select ‘Links’ to bring up the ‘Links’ window.
If you have linked files that are not embedded, click on the file to select it.
Click on the top right menu in the ‘Links’ window and select ‘Embed’.
Repeat until all images are embedded.
Image & Graphic Quality
Photos are recommended to be at least 300dpi.
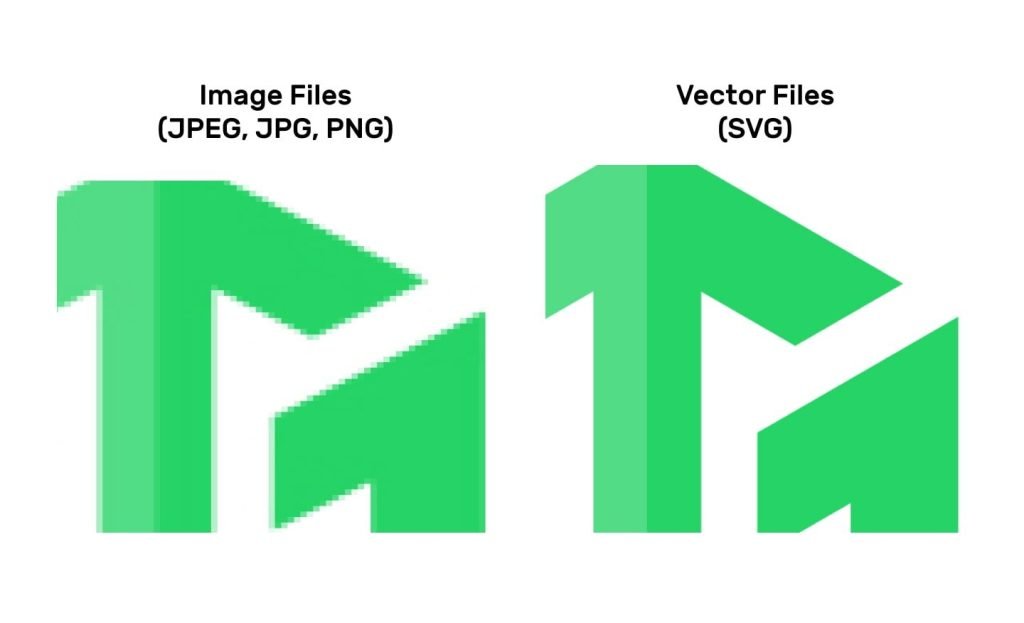
Non-photo content such as graphics and text should be vector-based files (e.g. vectored AI, PDF, or EPS). JPG and PNG graphics/text are not recommended unless they are of photos.
To ensure there is no loss in resolution and pixelation during printing, we recommend using vector assets for logos, text and designs where possible. Only use JPG, PNG, JPEG files for photographs, or if there are no vector assets are available.
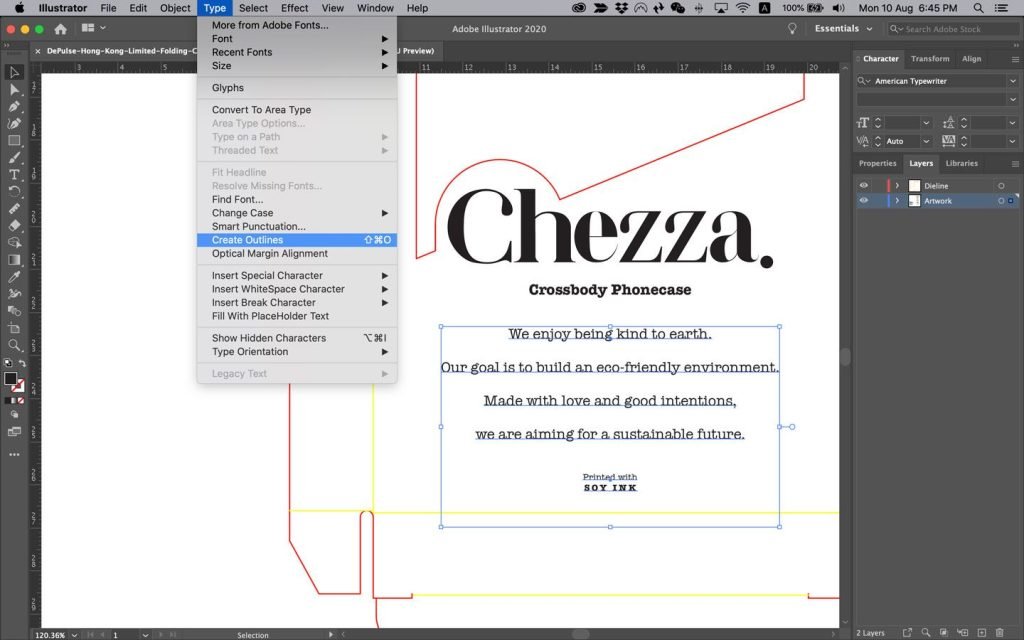
Outline all text or vectorize them to ensure we don’t run into issues of missing font files for production. In Adobe Illustrator:
Select your text box(es).
Click on ‘Type’ in the menu bar and select ‘Create Outlines’.
Your text should now be outlined and is no longer be editable with the Type Tool.
Text Size
The minimum font size should be 6pt. If your desired design will include text that is smaller than that, let us know and we’ll see if it’s a feasible design.